Halasan
For this, first lay the mat on the floor. Then lie down on your back. Supporting the lower back through the hands, take the feet up to 90 degrees. After this, slowly bring the feet towards your head. During this, support your waist with your hands. There may be a need to keep a hand on the waist while doing Halasana in the beginning. Which, if practiced over time, can be done without hand support.
Ustrasana
For this, stand on your knees on the mat.
Knees, hips and shoulders should be in a line while standing.
Keeping the hands on the base of the spine, keeping the face downwards.
One by one, take the hands on the waist and take them backward on the head.
Tilt the head backward so that you can be comfortable.
If you have flexibility, you can also hold the ankles by not keeping your hands on the waist.
You can use Balasan to bring the hands back and relax.
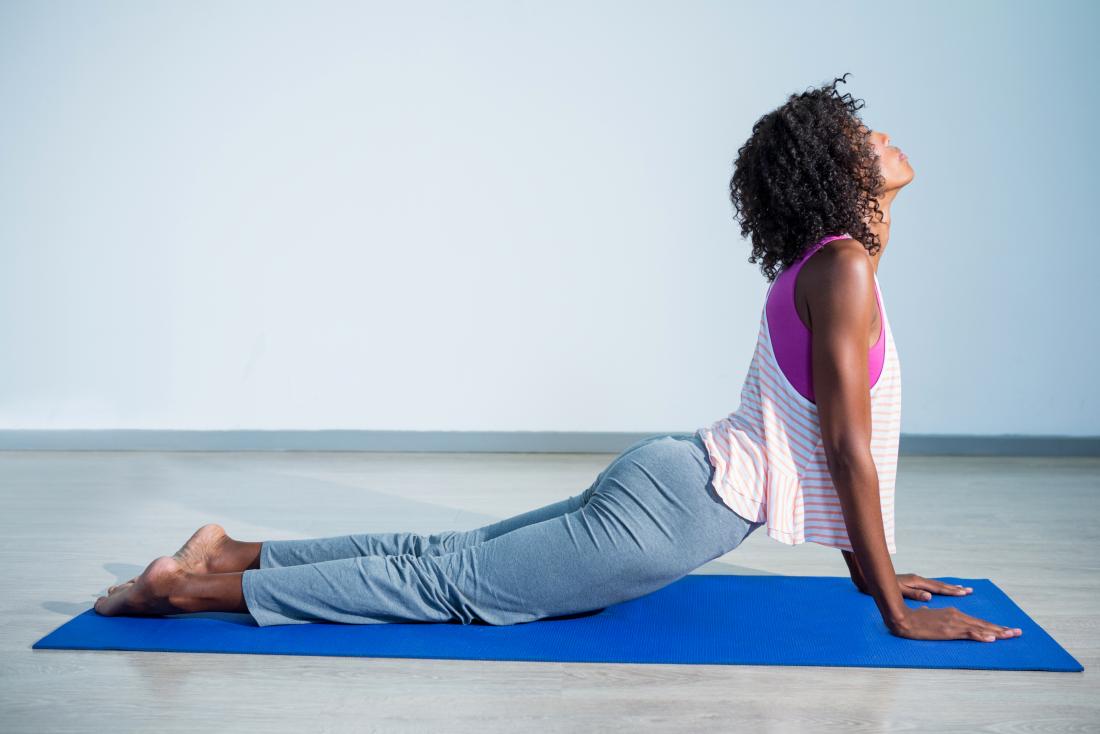
For this, bend forward and stand on your hands and knees.
After this, move your waist part forward and backward.
You can come backward while inhaling and forward while exhaling.
Apart from this, the neck and throat can be strengthened by looking upwards.
While exhaling and inhaling, the chin can be touched with the chest and done backward.
Boating
Sit on the mat with the legs stretched forward. Keep your hands at the level of your shoulders in front of you. After this, the knees can be bent and brought under the hands. Keeping the waist straight, raise the legs in front. This can be done while balancing on the buttocks. While lifting the legs in its posture, straighten it as much as possible. While raising your toes, bring them up to eye level. You can stay in this posture for 1 minute.
Matsyasana
Sit on the mat with your buttocks and keep your feet in front. After this, lift your waist and keep the elbows down and open the chest upwards. For this, lie down on the mat on your back. Keeping the hands under the hips, take the feet upwards to 90 degrees. According to your convenience, without bending the legs, take them up as much as possible. If there is a problem in doing this asana in general, then it can also be done near the wall. You can do this as a repetition or stay in this position for a maximum of 20 minutes. This asana can be done in many ways like opening the legs or lifting them up by folding them, etc.
Sarvangasana
For this, spread the mat on the floor. Lie down on your back. After this, put both hands under the lower back and lift it upwards. After which move the feet slowly upwards. Balance the feet in the air. Try to keep your shoulders, spine, and buttocks in a line. By doing this, your chin will touch your chest. Keep your neck in the same position as much as possible. Slowly bring the legs down and come to the normal position. Apart from this, whenever you lift your legs up, take them at an angle of 90 degrees. While bringing down, you can come while exhaling.
Is yoga useful in the thyroid?
There are many benefits of doing yoga which include improving overall health and well-being. This includes reducing stress, balancing energy, and improving flexibility. It has been seen in many studies that there is a connection between hyperthyroidism and stress which can be balanced if they are underactive or overactive through yoga. In many studies, the effect of improving thyroid function of yoga has been seen. Remember that these yoga and asanas do not cure thyroid imbalance completely. Ayurveda, including yoga, is used as an alternative treatment for the thyroid. Take help from a professional yoga teacher to learn yoga. In the case of the thyroid, it is beneficial to include the above-mentioned yoga in the lifestyle. You can learn many variations while doing yoga. Always start a new exercise lightly which can be improved over time.
Start with these yoga asanas today to beat thyroid issues.

 Asanas can help in reducing your thyroid levels. Get started with yoga today with the top 5 asanas which can help deal with weight gain and thyroid issues. Read till the end to gain the benefits of yoga asanas.


.jpg)


.jpeg)

.jpg)


.jpeg)


.jpg)


.jpg)


